
Investigation 12/6: Black Magic Pocket 4k and Davinci Resolve

During Black Friday this year I made a purchase that I am super happy about. I finally upgraded from my Canon T6, which is meant to be a stills camera, to a Black Magic Pocket Cinema Camera 4k (Bmpcc4k). This was definitely a large purchase for me, but it was also a purchase that I feel will help me both now and later in my professional life. By purchasing the camera, I also received a free copy of DaVinci Resolve studio. The purpose of this blog post is for me to discuss features of this camera that I intend to use as well as DaVinci Resolve. (Link to image)
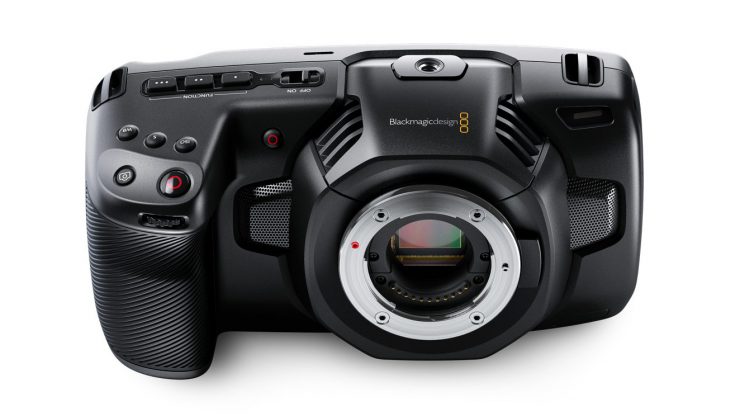

4k Recording And 120 High Frame Rate

As technology advances, the resolution we consume media does as well. While 1080p HD video is still the most common resolution to watch a video in at home, 4k media is quickly becoming more popular. Since my Canon T6 was only really meant to take pictures, it's video recording was limited to 1080p at 24 fps. While there isn't anything wrong with this, it doesn't leave much room for flexibility. Now that I can record in 4k up to 60fps, I have a higher quality image which I can always down-sample to 1080p should I want a sharper picture. The bmpcc4k also allows recording at 120fps if the resolution is set to 1080p. While I currently do not have anything to film in slow motion, being able to have that high of a framerate without being stuck at 720p like on my canon makes me want to use slow motion more.

Internal Audio Recording

For the majority of my previous projects, I had to resort to recording audio using my Zoom H1 and syncing it in post with my footage. This was due to my Canon T6 not having any form of audio input. While recording externally and syncing was never much of an issue, there was always the possibility for error. Now, by having an audio input, I should be able to easily record internally which should come in handy for simple and non-sound critical projects. If I were to record externally, having my shotgun mic attached to the camera would also be good in the event of needed to use back-up audio.

Blackmagic RAW

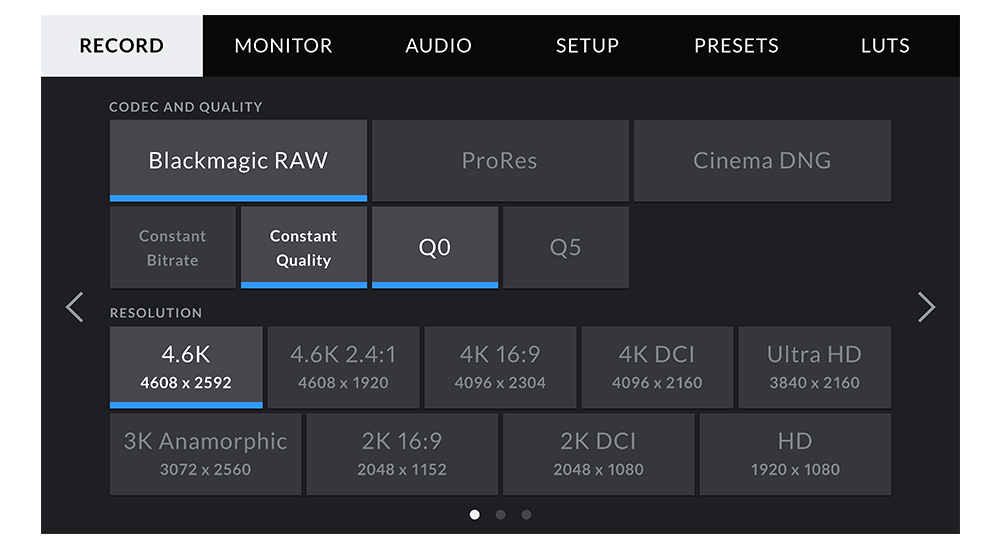
Previously, in this blogpost I went in-depth about the benefits of recording in RAW. I also briefly mentioned the Blackmagic RAW format which is available for me to use with the bmpcc4k. I will not go into too much depth here regarding RAW, but having access to b-raw should give me more peace of mind knowing that I can fix some parts of footage in post should I need to. However, the one major downside of b-raw is the size of the files. Even when shooting with 12:1 compression, the size of b-raw files quickly add up. While I do currently have enough space to hold footage as I record and while I edit, this might become more of an issue should I decide to save any footage for later. I do always have the option to record in ProRes instead of b-raw which might be necessary if I begin to run out of space. (Link to image)
DaVinci Resolve
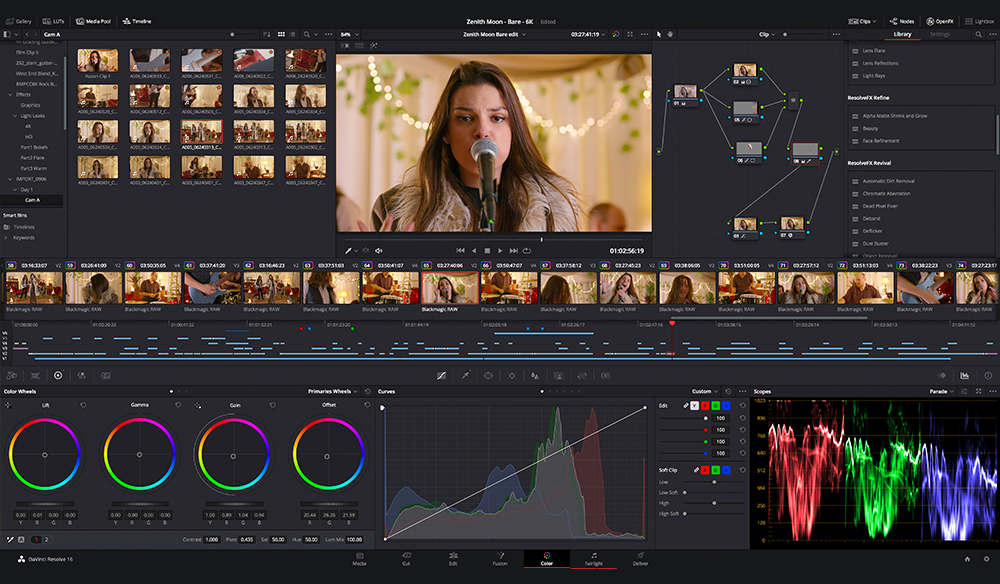
As I previously stated, by purchasing a bmpcc4k, I received a copy of DaVinci Resolve studio. DaVinci Resolve is most know for it's color grading tools, however, it also includes it's own editing, audio, and visual effects tools. While I do intend at learning to use Resolve's color grading tools to make best use of b-raw, I also am interested in learning it's other tools. While I do love using Premiere and other adobe products, I am unsure if I will make the decision to pay a monthly fee for them after I graduate. Learning to use Resolve will give me something to fall back on should I not pay for Adobe Creative Cloud and I feel it is also good to know multiple different editing programs as I may have to use something different in the future whether for a project or as a career. (Link to image)

Work Log

  • 11/30 - Thanksgiving Break (No Project Work)
  • 12/1 - New camera came, spent most of day testing
  • 12/2 - Realized dialogue was bad, changed focus to "silent" film
  • 12/3 - Help sister film college final
  • 12/4 - Edited film to be silent
  • 12/5 - Shot final remaining indoor scene
  • 12/6 - Shot final remaining pick-ups, finished film

Comments

Popular posts from this blog

Investigation 3/1: The Tools Of Camera Stability

One of the most important aspects of cinematography that goes commonly unnoticed is having the camera steady. Even a slight amount of movement within a shot can pull the audience away from the film, so it is important to attempt to have shots. There are multiple different ways that you can use to stabilize your camera, some of which are more effective than others. Tripod Using a tripod is the easiest way to stabilize the camera while filming. By having three points of contact with the ground, a tripod keeps the camera extremely stable. The camera would likely only move due to very large movements on the ground or strong winds. The one downside to using a tripod is that it has to remain stationary. If the required shot involves moving around, a tripod can likely not be used. Overall, the tripod is the easiest, simplest, and cheapest way to keep your camera steady. (Image Source) Shoulder Rig A shoulder mount is one way to keep the camera stable while also being able to mov...

Elements and Principles of Cinematography

Bird's Eye  Curved Lines  Diagonal Lines  Emphasis  Formal Balance  Framing  Horizontal Lines  Informal Balance  Leading Lines  Movement/Rhythm Proportion/Scale  Repetition  Rule of Thirds  Simplicity  Unity  Variety  Vertical Lines  Worm's Eye

Investigation 10/12: Visual Storytelling (Show Not Tell)

Visual storytelling describes the process of telling your story by only using visual elements rather than verbally. An easy way to look at verbal storytelling is to examine a children's book. The narration of a children's book bluntly tells the reader everything they need to know about what is going on. It tells who characters are, what they are doing, how they are feeling, and more all by directly telling the audience. Visual storytelling is the opposite as it uses only visual elements to broadcast the story to the audience, leading them to discern the story from what they see. Visual storytelling is a very general idea with different techniques to do so. Some of these techniques can be found below Visual Storytelling Through Framing Since visual storytelling is a visual form of telling a story, framing your shots within a film properly can convey your story without any dialogue. While most films use dialogue to enhance its story, the use of framing is so powerful that a film ...