
Investigation 3/7 - DaVinci Resolve Introduction

I've previously spoken a little bit about DaVinci Resolve and how I would like to learn how to best make use of the program and it's features. Now with the release of Resolve version 17 being released, I thought that now would be a good time to finally dive into learning the program. As of now, I haven't had the opportunity to use Resolve to edit a film or video, so the following is just my thoughts after viewing some tutorials regarding how to use the program.

Similarities To Premiere

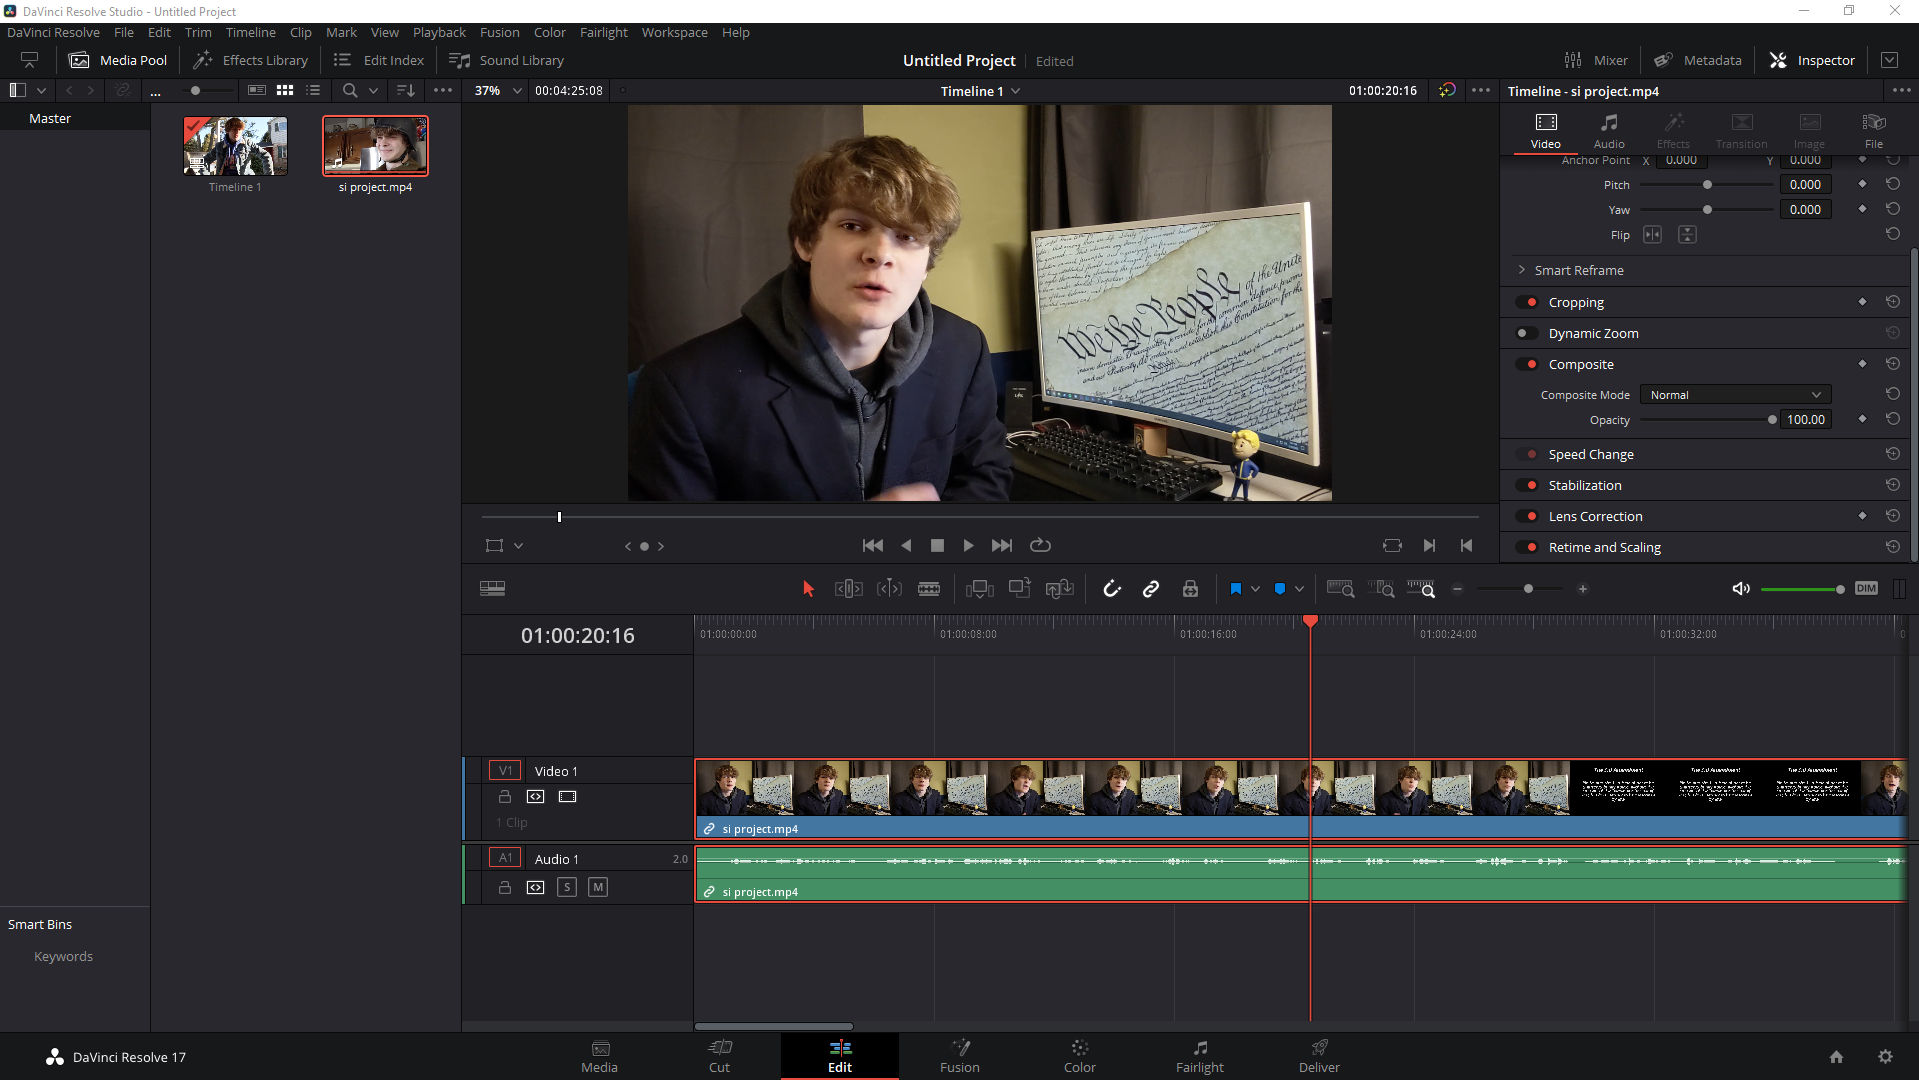
Like Premiere Pro, DaVinci Resolve is a professional video editing software that contains all the needed tools to produce and edit video. Both programs feature a editing timeline at the bottom of the screen which allows the editor to cut, trim, and manipulate clips and effects in order to create a composition. The timeline in Resolve allows you to trim clips by dragging and by using the razor tool, exactly like Premiere. Both programs also feature a centralized program monitor used to view your current output. Resolve's media pool is located on the left side of the screen again similar to Premiere. However, Resolve's media pool makes way better use of space, allowing you to see each clips thumbnail and title without having to scroll through the media pool. Lastly, Resolve also features an effects panel that allows you to manipulate a clip's effects, X/Y positions, and audio levels. Resolve once again has a leg up on Adobe with it's effects panel as it gives easier access to some effects that you would normally have to manually apply to a clip in Premiere, such as stabilization and cropping. Overall, Resolves user interface and use as a program are very similar to Premiere Pro, meaning that anyone like myself trying to make the switch should see some familiarity between both programs.


Advantages Of Resolve

The main advantage of using DaVinci Resolve over Premiere Pro and other video editing programs is the fact that it includes in-depth editing, effects, color grading, and sound editing programs all within one centralized program. This makes it super easy to get the most professional results without having to repeatedly switch between multiple different programs. While using Adobe's software, you might find yourself beginning by editing in Premiere, switching over to After Effects in order to do more detailed effects, and later switching over to Audition to best master your audio. While Adobe has some synchronization between each of their programs, Resolve completely surpasses Adobe by having all your tools only a click away. The second largest advantage that Resolve has is that it is completely free to use. Having to pay a monthly fee is always awful, especially for Adobe's software which can cost over $50 a month for access to the creative cloud. Resolve's blank price tag leaves no barrier for entry and the only cost that the program can have is a one-time activation fee to unlock the "studio" version. The studio version incorporates a few features that aren't found in the free version, however, most of these features are completely irrelevant for most filmmakers.
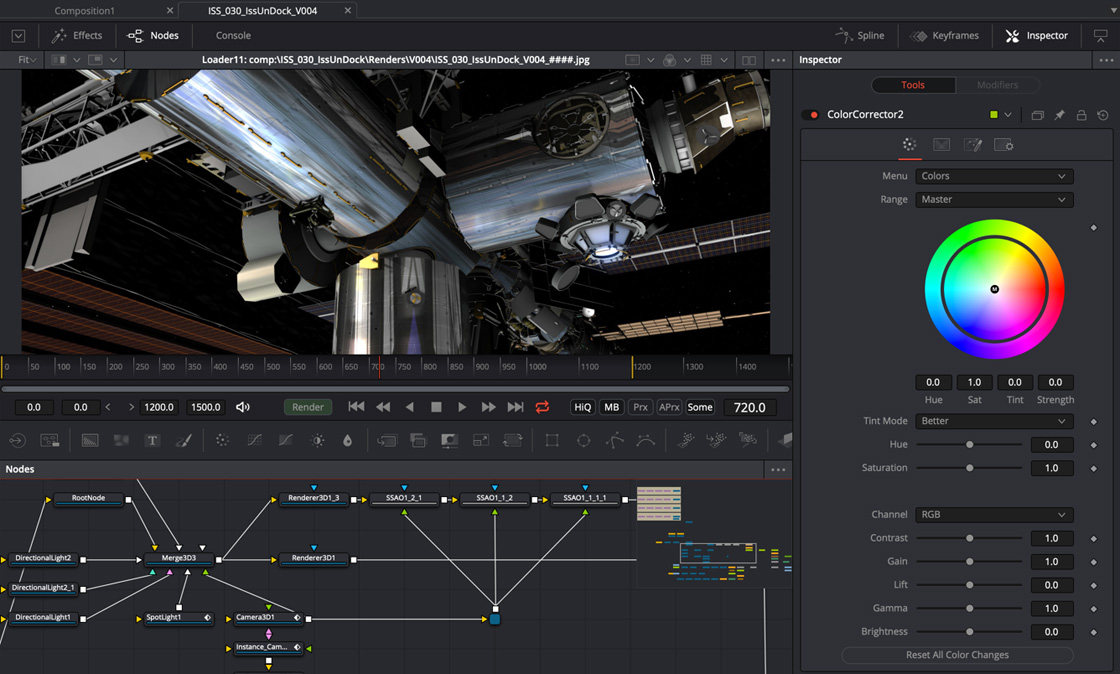
Fusion

The Fusion workspace within Resolve acts as the equivalent to Adobe's After Effects. However, unlike the jump from Premiere to Resolve for editing, Fusion and After Effects are very different in the way that you use them. I have only used after effects a few times, but in my time using it I saw how your composition is located on a timeline similar to editing. Fusion has no timeline for it's effects, instead choosing to make use of nodes. After watching a tutorial about Fusion, I still find myself having trouble understanding how to use nodes within Fusion. Fusion using nodes also means that the (little) knowledge that I have from After Effects won't carry over. Hopefully after using Fusion in a practical setting, I will understand it more and be able to use and explain it better. (Link To Image)

Work Log

  • 3/1 - Found props
  • 3/2 - Location scouted/prep
  • 3/3 - No Work (College Visits!)
  • 3/4 - No Work (Musical Rehearsal)
  • 3/5 - Storyboard/Script Improvements
  • 3/6 - Worked on S.I. final project video
  • 3/7 - DaVinci Resolve experimentation

Comments

Popular posts from this blog

Investigation 3/1: The Tools Of Camera Stability

One of the most important aspects of cinematography that goes commonly unnoticed is having the camera steady. Even a slight amount of movement within a shot can pull the audience away from the film, so it is important to attempt to have shots. There are multiple different ways that you can use to stabilize your camera, some of which are more effective than others. Tripod Using a tripod is the easiest way to stabilize the camera while filming. By having three points of contact with the ground, a tripod keeps the camera extremely stable. The camera would likely only move due to very large movements on the ground or strong winds. The one downside to using a tripod is that it has to remain stationary. If the required shot involves moving around, a tripod can likely not be used. Overall, the tripod is the easiest, simplest, and cheapest way to keep your camera steady. (Image Source) Shoulder Rig A shoulder mount is one way to keep the camera stable while also being able to mov...

Investigation 11/1: Rear Projection

Friday October 30th marked the release of the second season of the hit show The Mandalorian . While there are many things that contribute to how great of a show it is, the one aspect that has peaked my interest the most would have to be it's use of virtual sets. Virtual sets created in real time using the Unreal Engine makes the world of Star Wars  come alive on-screen at home and for the actors during filming. While the technology that creates virtual sets is amazing and will likely change the way that all films and shows are made, it is definitely something that smaller productions and individuals won't be able to make use of. Instead, the tool available to all film makers that I will be discussing today is Rear Projection. Why Use Rear Projection Rear Projection allows for a cheap and easy way to transform the background of your scenes. The concept of rear projection involves the projection of a pre-recorded video behind your actor. This allows for the actor to act within th...

Investigation 11/8: Steadicam Vs Tripod

Previously, I have investigated different tools you can use to stabilize your camera, which can be found  here . Since writing that blog post, I have had plenty of time to test using both my tripod and my Steadicam. While each of them is useful in certain scenarios, sometimes it is difficult to bring both pieces of gear with you for some shoots. For this reason, I have decided to compare the strengths of each to determine which is better for all-around shooting scenarios. Strengths Of A Tripod Using a tripod allows you to get the very smooth and stable shots with minimal effort. From my experience using my tripod, it has been most useful when I have been in front of the camera and unable to closely monitor how the shot looks. With the tripod being able to sit completely still without requiring someone to be near, it can completely replace a camera operator in some scenarios. Tripods also take the edge in smooth tilts and pans. While it is definitely possible to get stable pans and ...